The third shot drop, explained step by step (with drills)
How to hit a consistent third shot drop in pickleball — grip, contact point, arc, and three drills to groove it.
The third shot drop is the shot that separates 3.0 from 4.0. Below 3.0 you don't try it. Above 4.0 you don't think about it. In between, it's where most pickleball games are won or lost. Here's how to actually hit it.
Why the drop wins points
After the serve and return, the serving team is back at the baseline. The receiving team is already at the kitchen line. If the serving team drives the third shot hard, the receivers can volley it back hard — they're closer to the net, they have time, advantage stays with them.
If the serving team drops the ball soft into the kitchen, the receivers can't volley aggressively — the ball is low, slow, and lands at their feet. They have to dink it back. Now the serving team can move forward to the kitchen line, and the rally is even.
The drop's job is to neutralize the kitchen-line advantage. It's defensive in intent and offensive in effect — letting the dropping team get to the net safely.
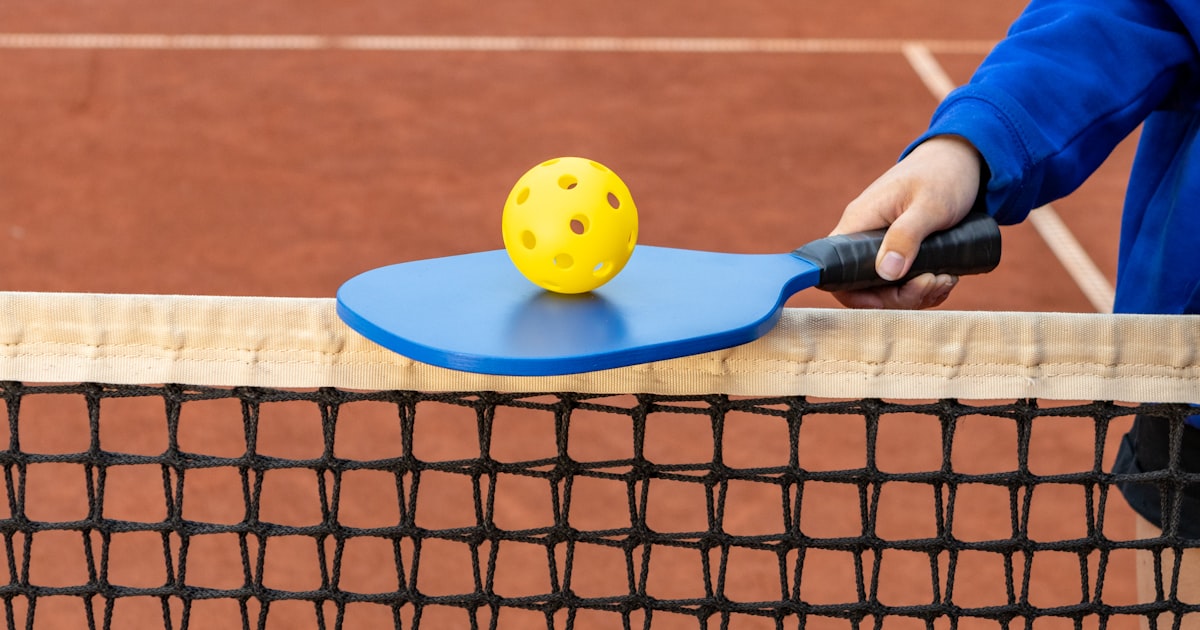
Grip and stance
Two non-negotiables:
- Continental grip. Same as your dink grip. Same as your serve grip. Don't change grips between drives and drops.
- Athletic stance. Knees bent, weight forward on the balls of your feet, paddle in front of your body at waist height. If your knees lock or your weight shifts back, your drop floats.
The continental grip matters because it keeps the paddle face slightly open without forcing it. The drop arc you want comes from a gentle lift, not a manual face angle. If you're consciously tilting the face, you're going to get it wrong half the time.
Contact point and arc
The contact point determines the arc more than anything else.
- Contact in front of your body: drop has a clean upward arc, lands soft.
- Contact at your hip: ball flies flat — that's a drive, not a drop.
- Contact behind your body: ball pops up — that's a lob, easily attacked.
Aim to contact the ball in front of your forward knee. Not at the knee. In front. That distance — maybe 12–18 inches — is what gives the paddle room to lift through the ball without forcing.
The arc peak should be roughly halfway between you and the net. From there it descends into the opposing kitchen. If your arc peaks late (closer to the net), the ball sits up at the opponent's height. If it peaks too early (still on your side), the ball drops short into the net.
Three drills
In order of progression:
Drill 1 — Cooperative drop. Stand at the baseline. Partner stands at the kitchen line. Partner feeds a soft ball; you drop into their kitchen. Goal: 25 in a row landing inside the kitchen. Don't move on until you can do it.
Drill 2 — Drop + reset. Same setup. After your drop, partner dinks the ball back. You step in two paces (toward the kitchen) and dink back. Continue the rally until someone misses. Goal: 10 rallies in a row that include at least 5 dinks.
Drill 3 — Drop under pressure. Partner serves to you. You return. They drop. You attack any popup, dink any soft ball. The point is to drill the drop in a real point sequence, not a cooperative feed. This is the hardest drill because it forces you to make the drop when your nerves are engaged.
A common mistake is staying too long on drill 1. Drill 1 builds the shape. Drill 3 makes the shape survive pressure. You need both.
When NOT to drop
Three situations where the drop is the wrong shot:
- Both opponents are still back at the baseline. Drive instead — you have the kitchen advantage; force them to defend.
- One opponent is out of position. Drive at the gap, or at the player's body.
- You're already pulled wide. A wide drop from outside the sideline is hard to arc correctly. Take a safer reset shot back to the center.
For more on the technique side, the dinking fundamentals post covers what happens after the drop succeeds — the kitchen battle. The glossary defines the shot terminology. And for technique resources, the USA Pickleball player development page has skill-level guidelines that align with these progressions.
Frequently asked questions
+What grip should I use for a third shot drop?
Continental grip — the same grip you use for dinks. Don't switch grips between drives and drops; the grip change telegraphs your shot to opponents and adds latency.
+Should I drop every third shot?
No. Drop when your opponents are at the kitchen and you need to neutralize. Drive when they're still pulled back, when one of them is out of position, or when you have a clear sliver to attack.
+How high should the arc be?
High enough to clear the net by 6–18 inches at peak. Low enough that it doesn't sit up on the descent. Practice with a string stretched above the net to physically constrain the arc.
+Why does my drop pop up under pressure?
Almost always abbreviated follow-through. Under nerves, players cut the swing short. The paddle face closes too early and lift becomes lob. Fix: drill the full follow-through until it's muscle memory, then drill it under pressure.
+What's the easiest drill for grooving a drop?
Stand at the baseline, partner stands at the kitchen line. Partner feeds a soft ball. You hit a drop into their kitchen. Reset, repeat 50 times. Then add: partner counter-dinks any popup. Now 50 more. Then add: target zones (cross-court vs straight). Now 50 more. That's 150 reps in one session.